Anvil Workflows allow our customers to capture data from their users via a webform. The user data captured by a Workflow's webform can then trigger logic, fill PDFs, trigger document signing, and ultimately flow back into our customer's system via webhooks.
In these Workflows, our customers often want to have fields in a webform that will populate PDFs and trigger logic, but that the end user cannot change. For example, this could be hiding a user's name that may not need to change, or setting up a webform to ask slightly different questions depending on a dropdown field that the user cannot change.
We've just released a new feature called hidden webform fields allowing you to do just that!
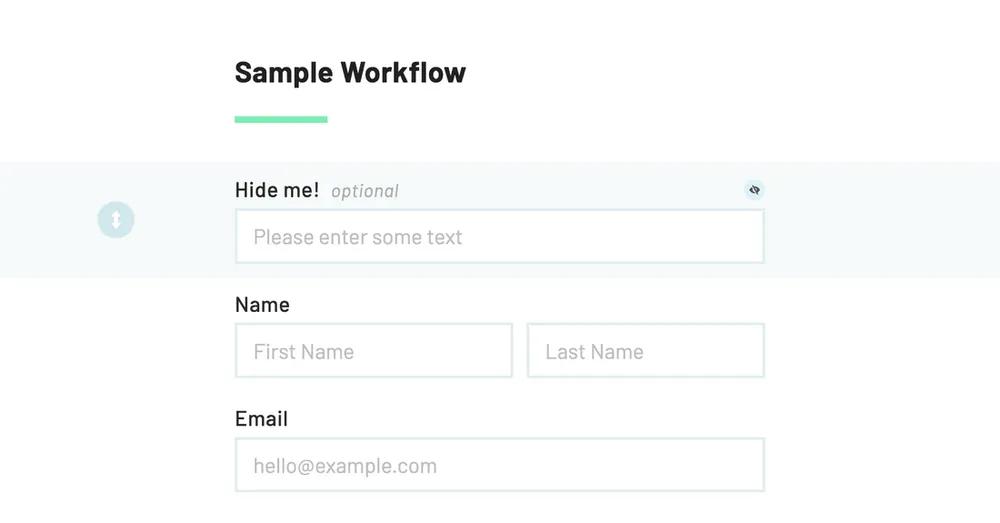 A hidden field configured in the Workflow editor
Hidden fields work exactly like other, visible webform fields, except the end user—the form filler—cannot see or change the field.
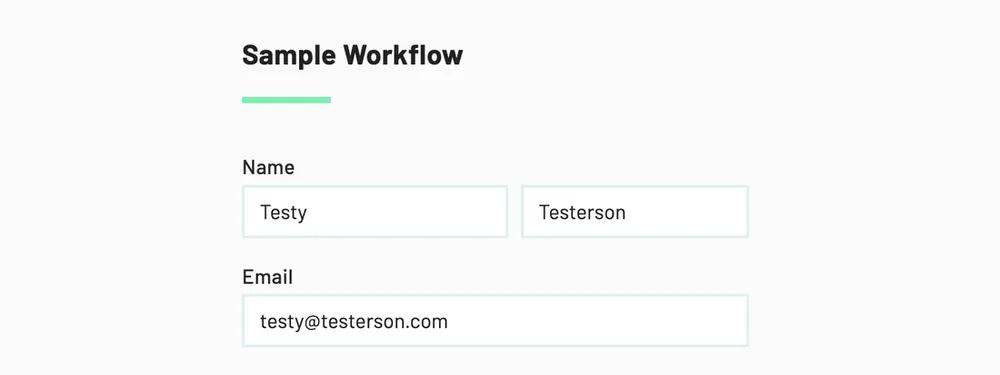 The hidden field does not show while filling the form
Just like normal fields, hidden fields can trigger logic, they can be used to fill PDF fields, and they will be sent along with other data in webhook calls.
How is this different than logic?
You can hide fields with field logic on a webform as well. What is the difference?
Fields hidden with logic will have their values removed from the webform's submission. When a field is hidden with logic it means, "this field should not be filled at all." Hidden fields are a little different. A hidden field can be filled, it just is not shown to the end user.
Creating a hidden field
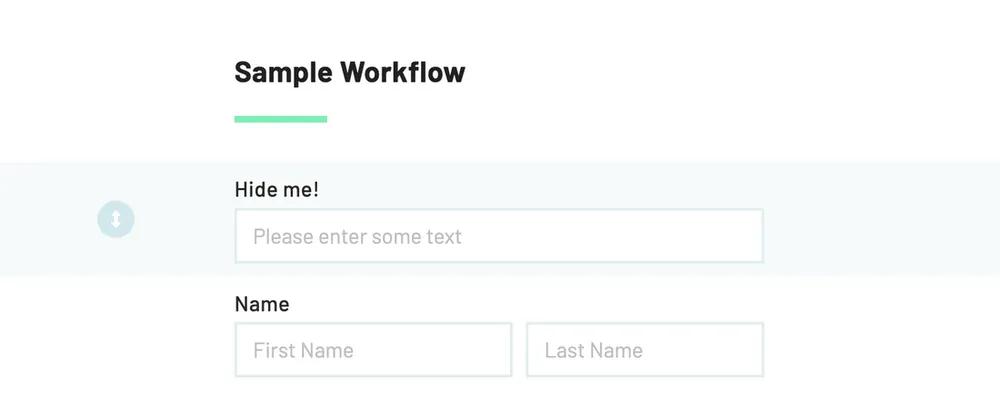
Hidden fields is available to all Anvil users now. In any Workflow, go to the webform editor, click on a field you want to make hidden:
Then in the sidebar, click "More options", and click "Hide this field".
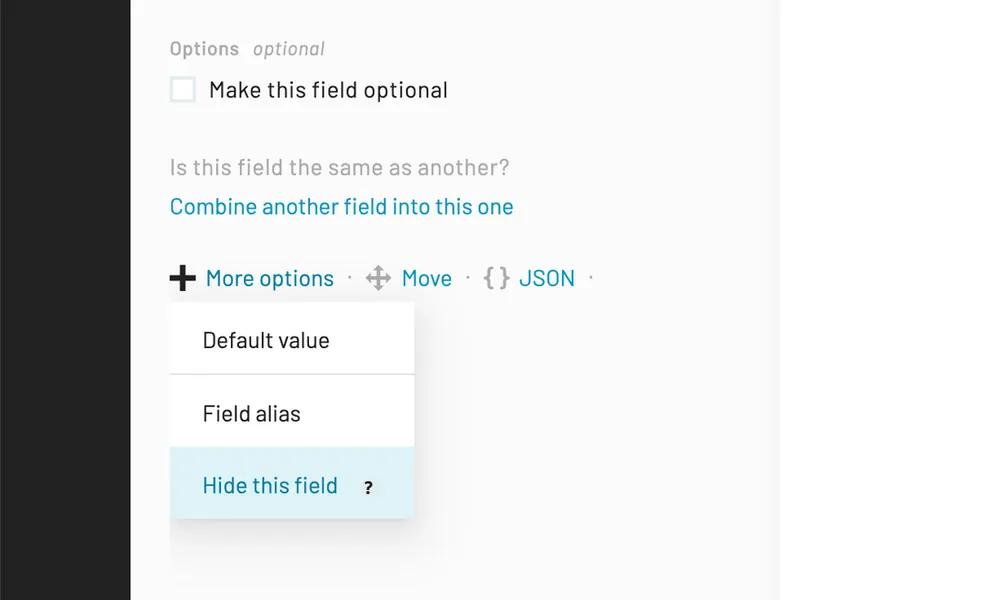
That's it! The field will now be invisible to your end users when they are filling the form.

Filling a hidden field
Now that a field is hidden, how do you fill it? There are several ways:
- Set a default value on the field
- Seed it with a UI URL
- Fill it with the API
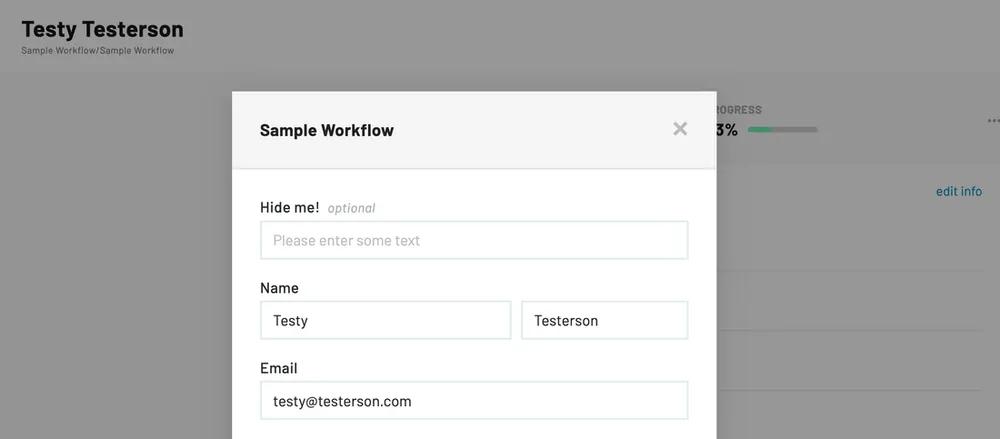
In addition to the methods above, all Anvil admins and editors in your organization will be able to update hidden fields from the Workflow submission pages:
A real-world example
Let's build out a quick real-world example. One scenario we often see is a webform that asks different questions based on some criteria. For our example, say we have a webform that is mostly the same, but has a couple different fields depending on whether the form filler is for a person or a company. We might need to collect a person's name and SSN for a person, but a company name and tax ID number for a company.
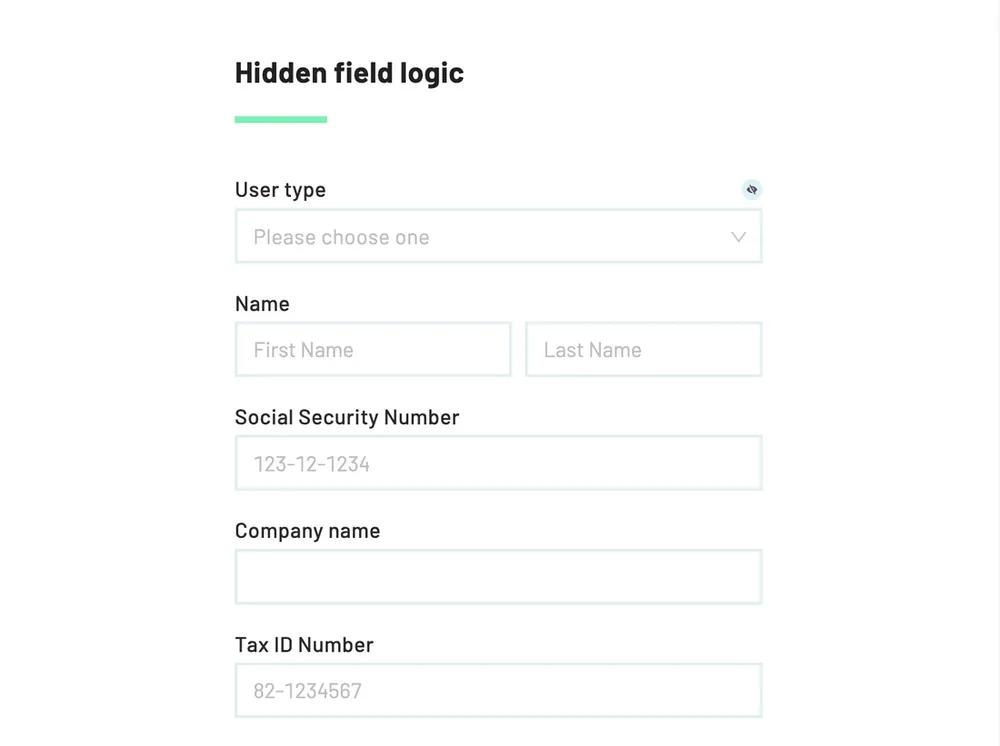
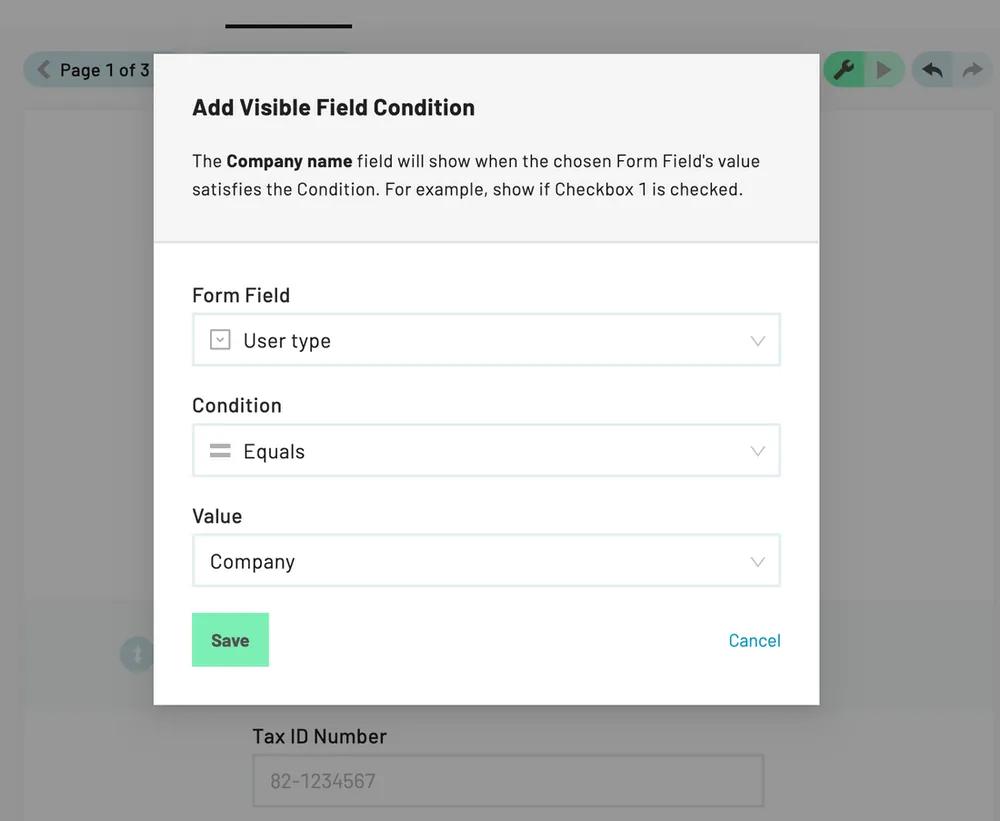
We'll create a hidden dropdown field called "User type" with two options: Person and Company. We'll give it a field alias userType, then attach logic to it to show the correct fields for the correct type of user we are having fill the webform. The new dropdown:

Next we add all the other fields that will have logic based on the hidden dropdown:
Then we can set up logic to show the correct fields based on the dropdown option chosen:
When we're sending a link to the webform out to our user, we will need to seed the hidden dropdown with our user type. I will use UI URLs.
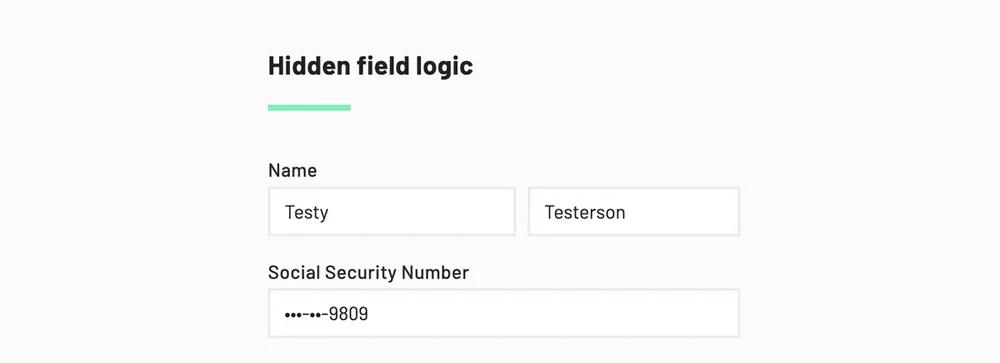
Using the Person option, I can append ?d={"userType":"Person"} to the end of my webform URL. I can send this URL out to my user, or visit it once to generate the webform submission:
https://app.useanvil.com/form/my-org/my-webform?d={"userType":"Person"}
And it shows only person fields!
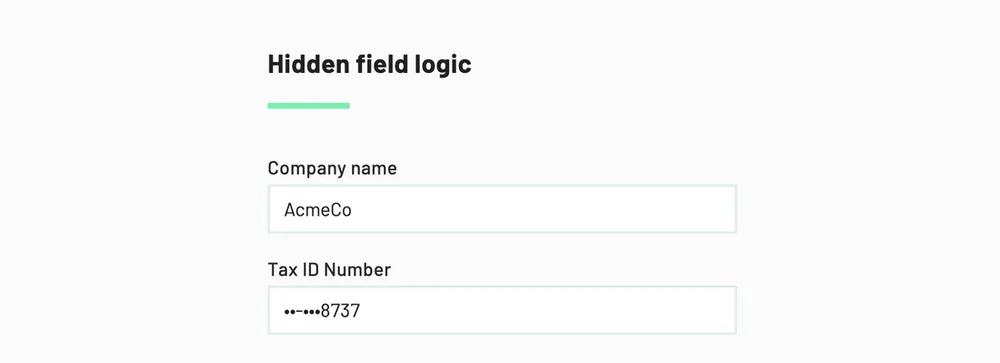
Then with the Company option, I append ?d={"userType":"Person"} to the end of the webform URL:
https://app.useanvil.com/form/my-org/my-webform?d={"userType":"Company"}
The webform now shows only company fields:
That's it!
We hope the new hidden fields feature is useful to you. If you have any questions, don't hesitate to reach out to support@useanvil.com.

